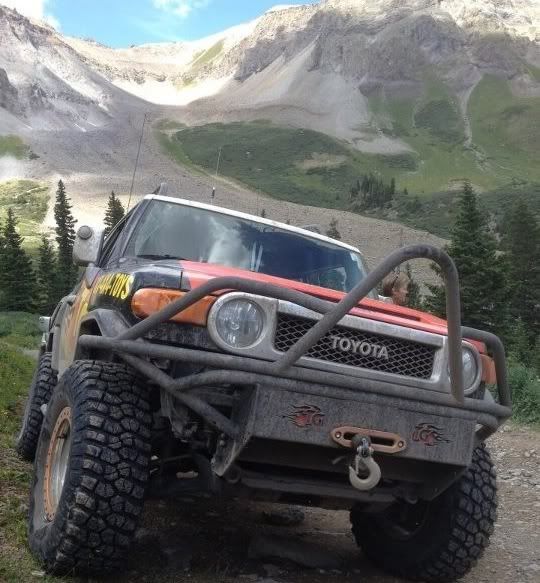
Hi all; thought I would share some of the build challenges with the TG FJ. First of all taking out the stock seats for all those long trips! It seems there are a lot of different ways to mount aftermarket seats in FJs, but all of them entail ripping the old seats apart. Im cheep and want to sell the old seats so this was not an option. So I used these mounts and the entire install took 2 hours.
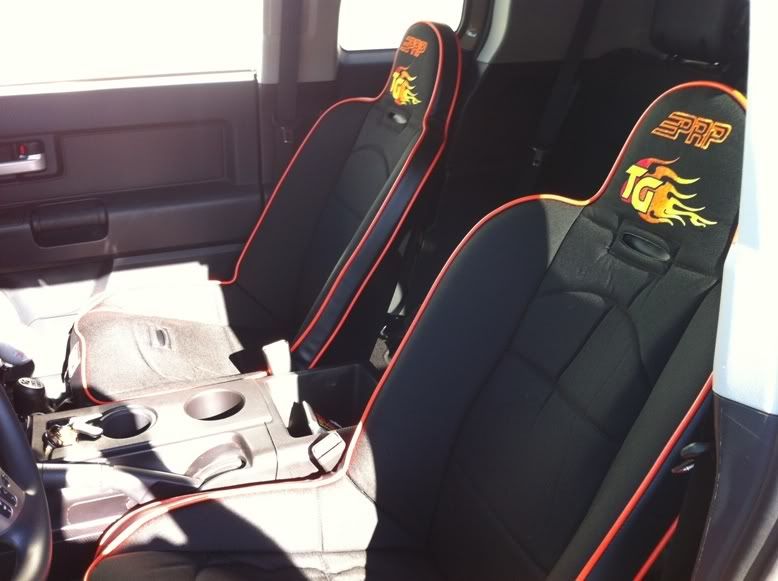
I went with PRP racing seats, same seats used in TG race cars. The seats I picked are called "daily drivers" so the side wall isnt too high for getting in and out of.
Poly Performance JEEP/TRUCK & BUGGY*::*Seats & Accessories*::*PRP Seats - 4X4 Off-Road Parts, JK Synergy Suspension Systems, Fox Racing Shox, Beard, CNC Brakes, Johnny Joints®, Currie Enterprises, Edelbrock, Pit Bull Tires, Ramsey Winch, ARB, Walker at $279 each it was worth it.
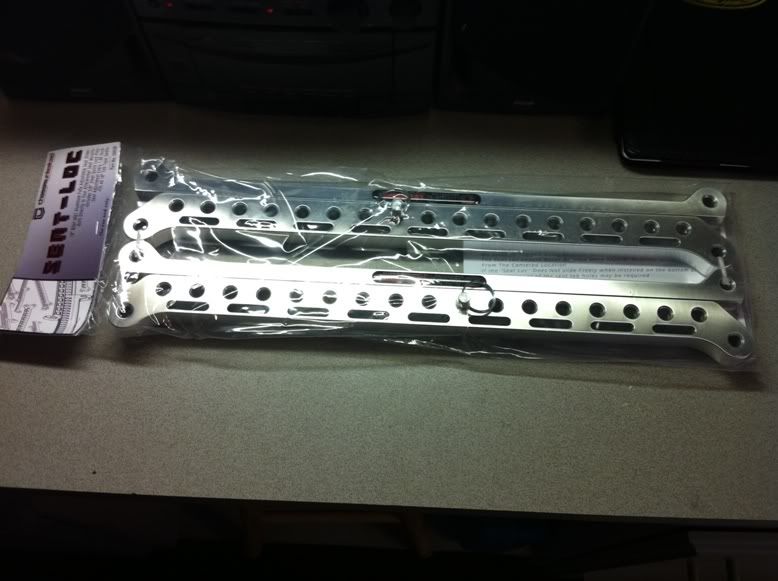
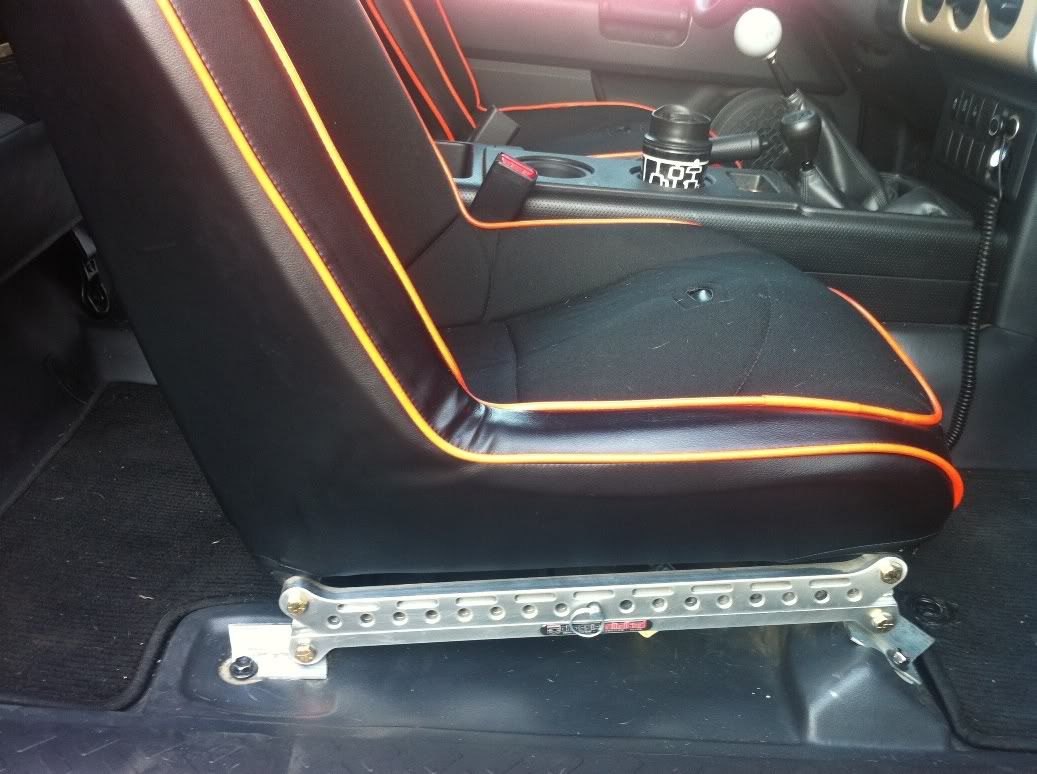
Next I looked all over for mounting brackets, I found these at Chassis Unlimited, they are billet rails and what I liked the most was they have a ton of adjustment. Plus they bolt to any racing seat straight up. I have twice the adjustment I had before front to back. You can get them at
https://www.chassisunlimited.com/pro...t-sliders.html
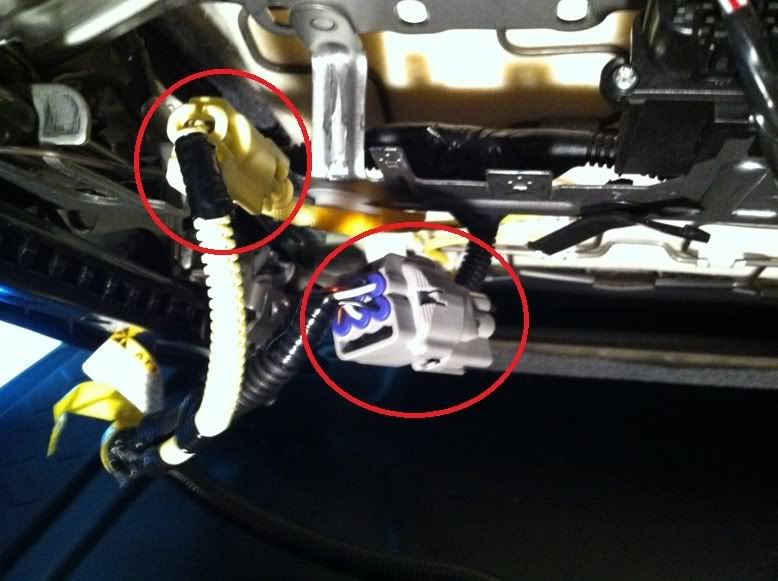
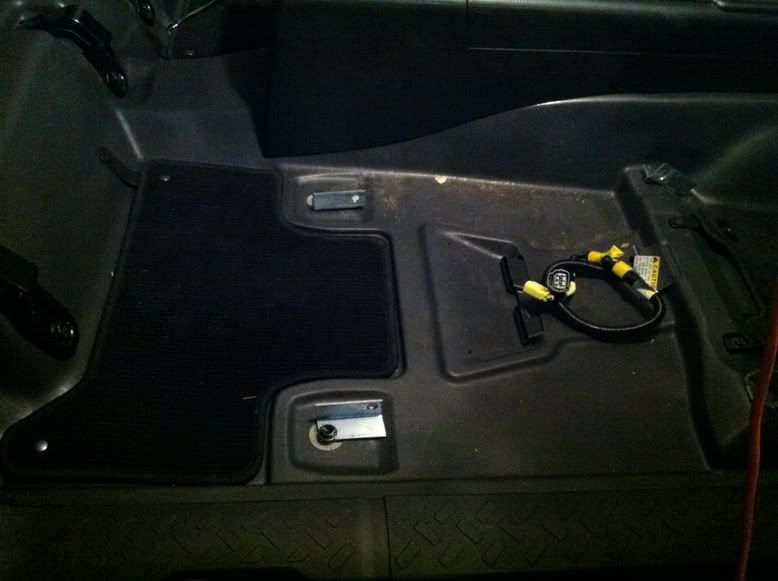
Now to removing the stock seat. Take the four mounting bolts out from the floorboard. gently lift the seat up in the front and disconnect the two plugs shown here.
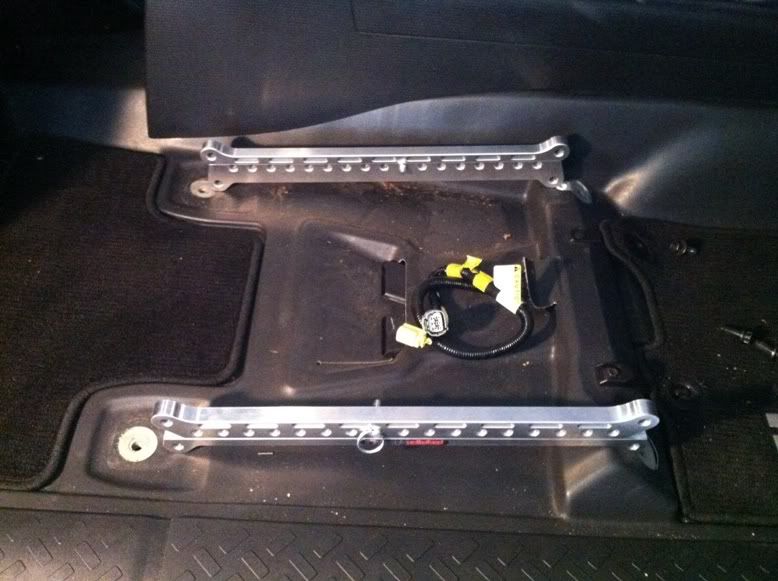
Seat will come right out. Now I wanted to use the stock seatbelts (I heard that racing harnesses, although very cool, are a royal pain for a daily driver) so I needed to use the seatbelt brackets off the stock seats, just unbolted them and drilled holes in the PRP seats to mount to the side. (sorry no pics of that, they came out blurry!)
Now I mounted the rails onto the new seats, measured the distance between them, and then placed them into the location shown.
I measured the distance and a 1 1/2" angle iron worked perfectly to make the brackets, the outside of the angle lined up with the existing mounting holes in the floorboard. Marking the hole locations I made the brackets. You may want to use 2" angle iron or larger for some extra height.
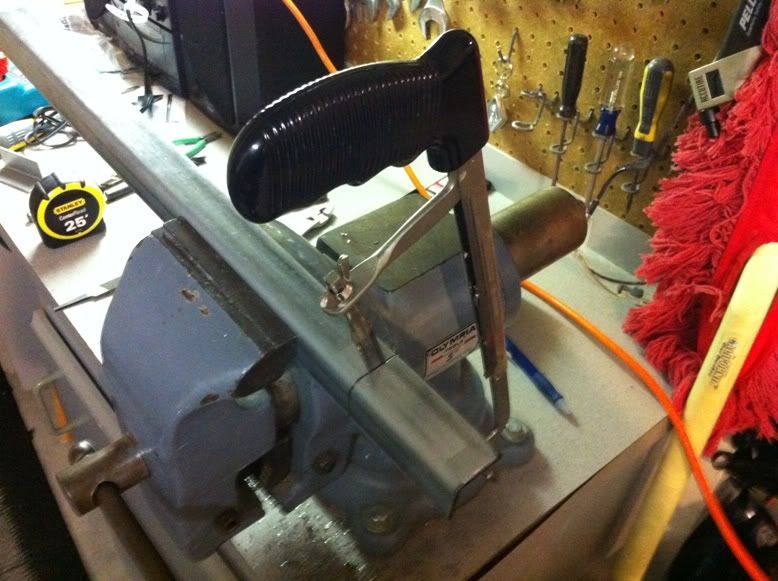
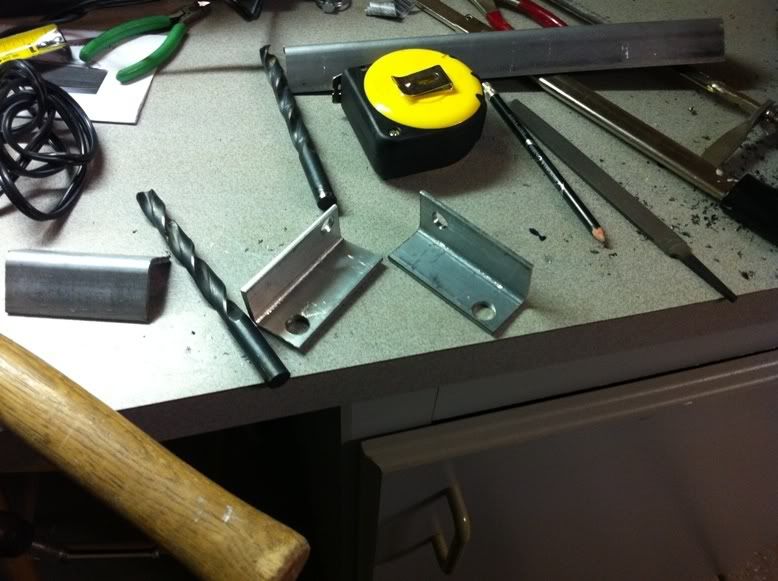
Now a bracket test fit
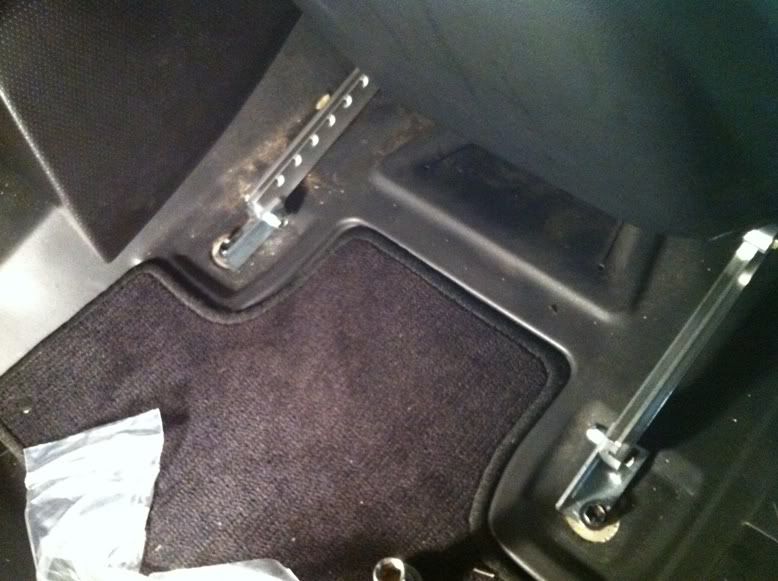
And finally bolt the new seats in, be careful not to over tighten or the sliding mechanism will bind. Also a little 3 in 1 oil keeps the seats moving smooth.
Some more shots of the final product
Of course I lost my sensor for my seatbelt and my passenger airbag but there are companies that make plugs for those. I believe MetalTech has one, for right now I dont miss them, airbags are dangerous when off roading as sudden drops can make them go off.
Hope this was a good read.. Look for more as we build out the FJ